CSS consists of a collection of styles (or rules) describing how to format particular elements in your html document.
Each style is made up of a selector and a set of declarations describing the formatting of the selected elements.
The set of declarations are contained inside a declaration block,
which is enclosed in curly braces ({ }).
Each declaration is made up of a
property-value
pair. The property is seperated from the value by a colon (:),
and the property-value pair ends in a semi-colon (;).
Here is the structure of a style:
[selector] {
    [property]: [value];
       ...
    [property]: [value];
}
Here is an example of a style being applied to the p
(paragraph) element:
p {
    color: #F00;
    background-color: #FFF;
    text-align: center;
    font-style: italic;
}
The first two property-value pairs set the text color to red and the
background color to white. The third one centers the text, and the last one
gives it an italic font style. Each of these properties will be applied to
p elements throughout the document.
White space does not matter in CSS, so the whole thing could have been written like this:
p{color:#F00;background-color:#FFF;text-align:center;font-style:italic;}
which is not as easy to read.
There are 3 ways to include style sheets into your html document:
A style can be applied to to a single element by using a style
attribute. The selector isn't needed since only the element containing the
attribute is styled. Instead of using curly braces to start and end the
declaration block, just put quotes around it.
<h1 style="text-align: center; color: #F00;">A Centered Red Title</h1>
The inline style above centers the heading and sets its font color to red.
To apply a style to a whole document, put it inside the head of the document
(between <style></style> tags) like this:
<head>
<title>Example Page with Internal Style Sheet</title>
<style>
body {
    margin: 50px 50px 50px 50px;
    background-color: #FFC;
}
h1 {
    text-align: center;
    color: #090;
    background-color: #FFC;
}
p {
    text-align: justify;
}
</style>
</head>
You can also place your style in a seperate file and link to it like this:
<head>
<title>Example Page with External Style Sheet</title>
<style>
@import url(style1.css);
</style>
</head>
The file containing the style sheet in this example is named style1.css, but you can name your file any way you like (as long as you use a legal file name, of course).
External style sheets can even be located other places on the web. This adds one of google's free, cross browser web fonts to a document:
@import url(http://fonts.googleapis.com/css?family=Eater);
Add this to the bottom of your pages (just above the
</body> tag) to include validation links for your HTML and
CSS:
<footer>
<a href="http://validator.w3.org/check/referer">
<strong> HTML </strong> Valid! </a>
<a href="http://jigsaw.w3.org/css-validator/check/referer?profile=css3">
<strong> CSS </strong> Valid! </a>
</footer>
Add this style to center the links on the page:
footer {
    text-align: center;
}
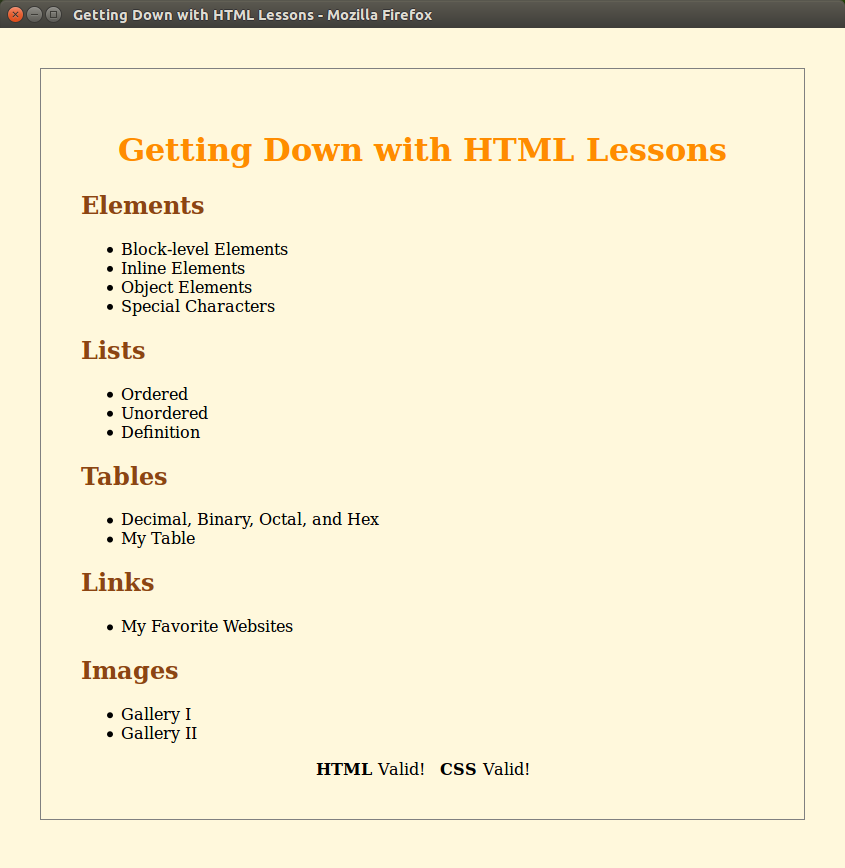
minimal pagethat you can copy whenever you want to create a new document.
gdw.html you finished at the end of
lesson 7 of Getting Down with HTML
(note: if you don't have the version that you made, you can use
this one), do
the following:
<style>
</style>
element inside the
head element, immediately after the
title element.footer element to match the one in the
Adding Validation Links section from this lesson.
body {
     margin: 40px;
     padding: 40px;
     background-color: #FFF8DC;
     border: 1px solid #808080;
}
h1 {
    text-align: center;
    color: #FF8C00;
}
h2 {
    color: #8B4513;
}
a, a:visited {
    color: #000000;
    text-decoration: none;
}
footer {
    text-align: center;
}
mystyle.css. Move everything you put
between the <style> and </style> tags
to this new file. Add:
@import url(mystyle.css);inside the style element. Verify that the page is still styled.
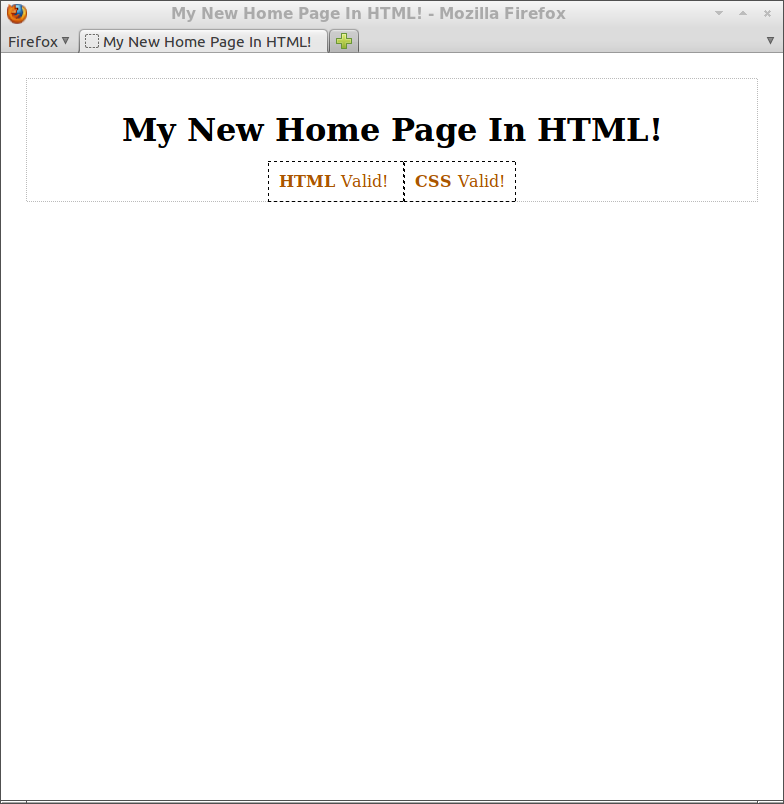
index.html
page you made in Lesson 1 of
Getting Down with HTML Add the following styles, one at
a time, reloading your document after adding each one to see what it did:
body {
    margin: 25px;
    padding: 10px;
    border: 1px dotted #BBB;
}
h1, footer {
    text-align: center;
}
footer a, footer a:visited {
    color: #A50;
    text-decoration: none;
    padding: 10px;
    border: 1px dashed #000;
}
When you are finished, your document should look like this.
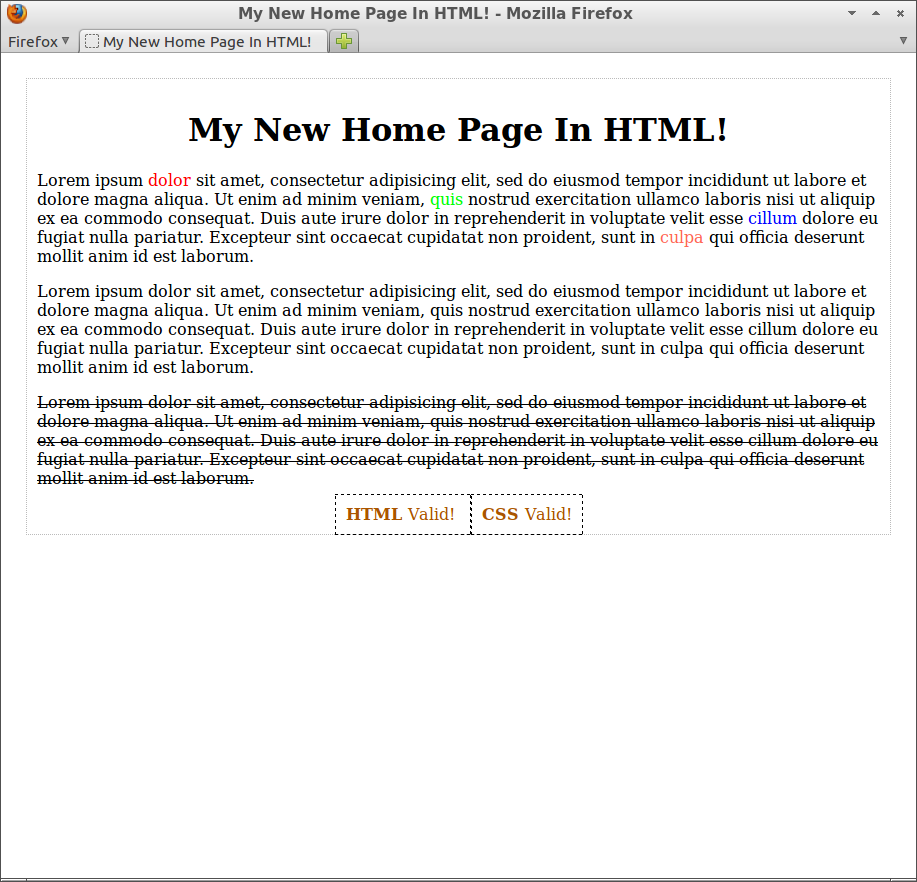
Starting with the document you made in the previous exercise, add three paragraphs of lorem ipsum text:
<p>
Lorem ipsum dolor sit amet, consectetur adipisicing elit, sed do eiusmod
tempor incididunt ut labore et dolore magna aliqua. Ut enim ad minim veniam,
quis nostrud exercitation ullamco laboris nisi ut aliquip ex ea commodo
consequat.  Duis aute irure dolor in reprehenderit in voluptate velit esse
cillum dolore eu fugiat nulla pariatur. Excepteur sint occaecat cupidatat non
proident, sunt in culpa qui officia deserunt mollit anim id est laborum.
</p>
Use <span></span> elements with an inline style sheet
to change the colors of four different words in the first paragraph. Use a
different color for each word. Experiment with the colors until you have a
feel for how they work.
Hint: Colors can be set with
color: #RGB; where R stands for red,
G stands for green, and B stands for
blue. To assign a color, you replace each of R,
G, and B with a
hexidecimal digit
(0, 1, 2, 3, 4, 5, 6, 7, 8, 9, A, B, C, D, E, F). 0
means the least amount of the color and F (15) means the most.
#F00 is maximum red. #0F0 is maximum green.
#00F is maximum blue. #000 is black (no color).
#FFF is white (max of all three colors).
Apply text-decoration: line-through as an inline style
to third paragraph. When finished, your document should look something like
this.