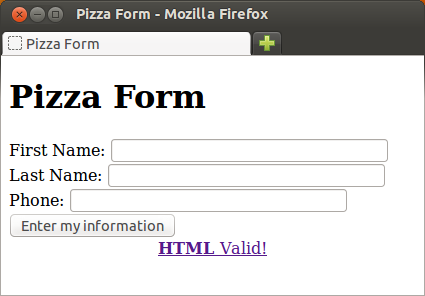
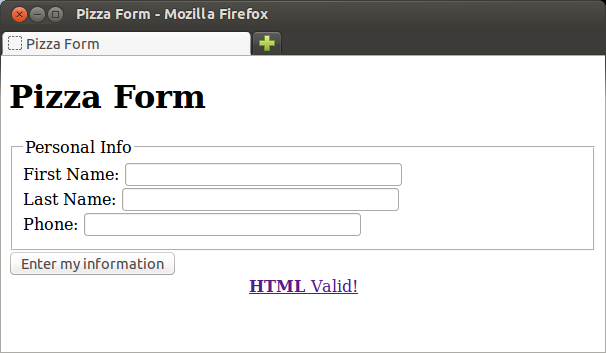
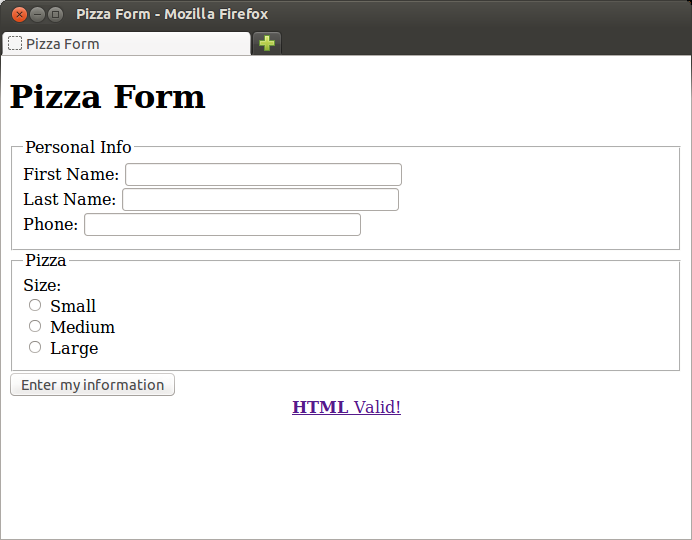
A webform is a collection of HTML elements that enable users to enter information through a web page. The information can then be sent to a web server running a web application. Forms give HTML what it needs to create a user interface for web applications.
Without an application to receive the data, however, HTML forms are not of much use. To get around that problem for this tutorial, we have added a small PHP program to our website which echos back the submitted form data so you can see what it looks like and begin to think about the process of sending data to a server.
Basic Structure
Forms consist of a <form></form> element
containing a collection of input elements and other descriptive
markup:
<form>
...
form elements and other html markup
...
</form>
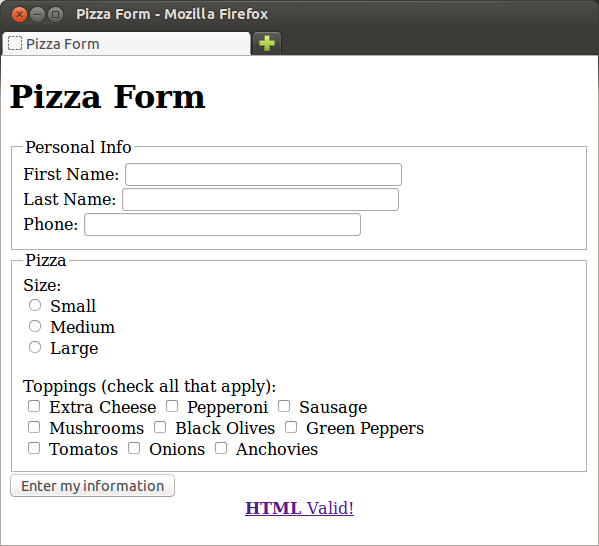
Here is a form containing several common form input elements:
Here is the source code for the above form:
<form method="GET"
action="http://openbookproject.net/tutorials/getdown/resources/getecho.php">
<fieldset>
<legend>Personal Info</legend>
<label>First Name: <input type="text" name="fname" size="30"></label><br>
<label>Last Name:  <input type="text" name="lname" size="30"></label>
</fieldset>

<fieldset>
<legend>Course Info</legend>
<label>Course:</label><br>
<input type="radio" name="course" value="webdesign"> Web Design<br>
<input type="radio" name="course" value="sql" checked> SQL<br>
<input type="radio" name="course" value="programming"> Programming<br>
<label>Career Goal:</label><br>
<select name="goal">
  <option>Web Designer</option>
  <option>Database Administrator</option>
  <option selected>Programmer</option>
  <option>other</option>
</select>
<br>
<label>Skills (check all that apply):</label><br>
<input type="checkbox" name="unix" value="1"> UNIX
<input type="checkbox" name="vim" value="1"> VIM<br>
<input type="checkbox" name="html" value="1"> HTML
<input type="checkbox" name="css" value="1"> CSS<br>
<input type="checkbox" name="python" value="1"> Python
<input type="checkbox" name="javascript" value="1"> JavaScript
<br>
<label>Describe any additional skills you have:</label><br>
<textarea name="skills" cols="70" rows="4"></textarea>
</fieldset>
<button type="submit">Enter my information</button>
</form>
Input Types
These are the most common input types:
- Text
- Text inputs give you a default width of 20 characters, which can be
changed by setting a
widthattribute to a different value. - Radio Buttons
- Radio buttons allow you to offer the user a choice among several values for the a key (name). Only one of the choices can be selected.
- Checkbox
- The
checkboxtype allows the user to select any number of options from among the offered choices. Each choice should havenameand correspondingvalueattributes. The name and value are sent to the server as a pair. - Select-one
- The
selecttype gives the user a choice among several values for the a key (name), like theradiotype, but the choices appear in a drop down menu. - Textarea
- Textarea inputs hold multi-line text. The size of the displayed
input box can be modified by setting
colsandrowsattributes. - Password
- This variation on the input type doesn't display the password as the user is typing it. It displays a dot for each character typed instead.