Elements come in two varieties: block-level elements, which mark up larger sections, or blocks, within your document, and inline elements, which are for smaller bits, usually contained within one line.
The web browser puts new lines (think Enter key on the
keyboard) around block level elements so that they appear on their own line.
The following source:
<p>p element</p><div>div element</div>
<section>section element</section>
<b>b element</b>
<i>i element</i>
<span>span element</span>
<code>code element</code>
<p>p element</p><p>p element</p><p>p element</p>
Renders like this:
p element
code element
p element
p element
p element
Notice that the block-level elements render on their own line (with extra
space below the p element), while the inline elements are all on
the same line.
In older versions of html, the distinction between block-level and inline elements was a firm part of the html language, together with a rule that inline elements had to be enclosed inside a block-level element to be syntactically valid.
With html 5, this distiction is greatly relaxed, and it is possible to use CSS to convert a given element to either block-level or inline.
Block-level Elements
Here are some of the most common (and most useful) elements with default block-level behavior:
- <p></p>
- Paragraph. Probably the most common tag you will use, it marks the beginning and end of a paragraph of text.
- <pre></pre>
- Preformatted text. This tag is good for examples of source code.
- <div></div>
- Block-level logical division. No default attributes.
- <h1></h1>...<h6></h6>
- All of the heading tags are block-level tags.
The following semantic elements were added in HTML 5:
- <header></header>
- Marks the top section, or header, of a web page.
- <footer></footer>
- Marks the bottom section, or footer, of a web page.
- <nav></nav>
- Used for marking a navigation section.
- <main></main>
- Marks the main content area of the body of a web page.
- <section></section>
- Used for enclosing other elements that make up a section of a web page.
- <article></article>
- Used for enclosing a self-contained composition within a web page.
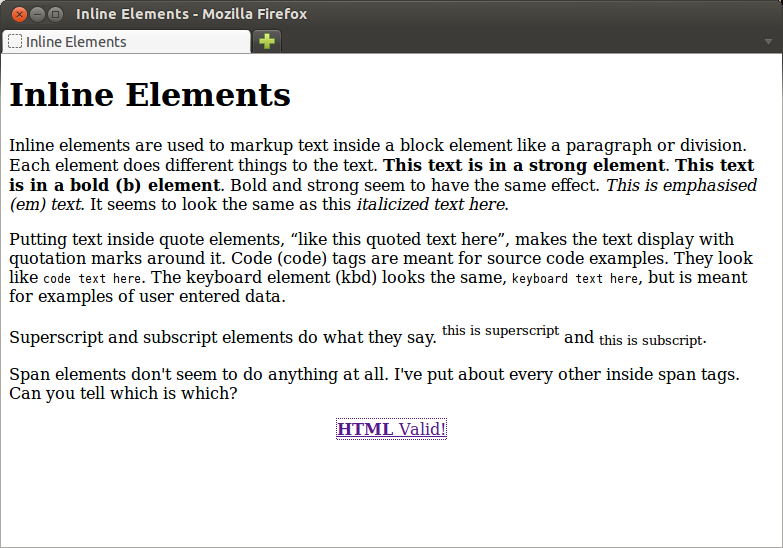
Inline Elements
Here are some of the most common inline elements together with their uses and default attributes:
- <strong></strong>
- Used for text that you want to stand out, like this.
- <b></b>
- Bolded text, like this.
- <em></em>
- Gives emphasis to the encoded text, like this.
- <i></i>
- Italicized text, like this.
- <q></q>
- Marks the beginning and ending of a quotation, like
this
. - <code></code>
- Indicates that the enclosed text is source code, like
this. - <kbd></kbd>
- Indicates enclosed text is input by the user from a keyboard, like this.
- <sup></sup>
- Encloses superscript text, like this.
- <sub></sub>
- Encloses subscript text, like this.
- <a></a>
- Sets a hyperlink to another document or location within a document.
(see Lesson 6). - <span></span>
- Inline logical division. No default attributes.
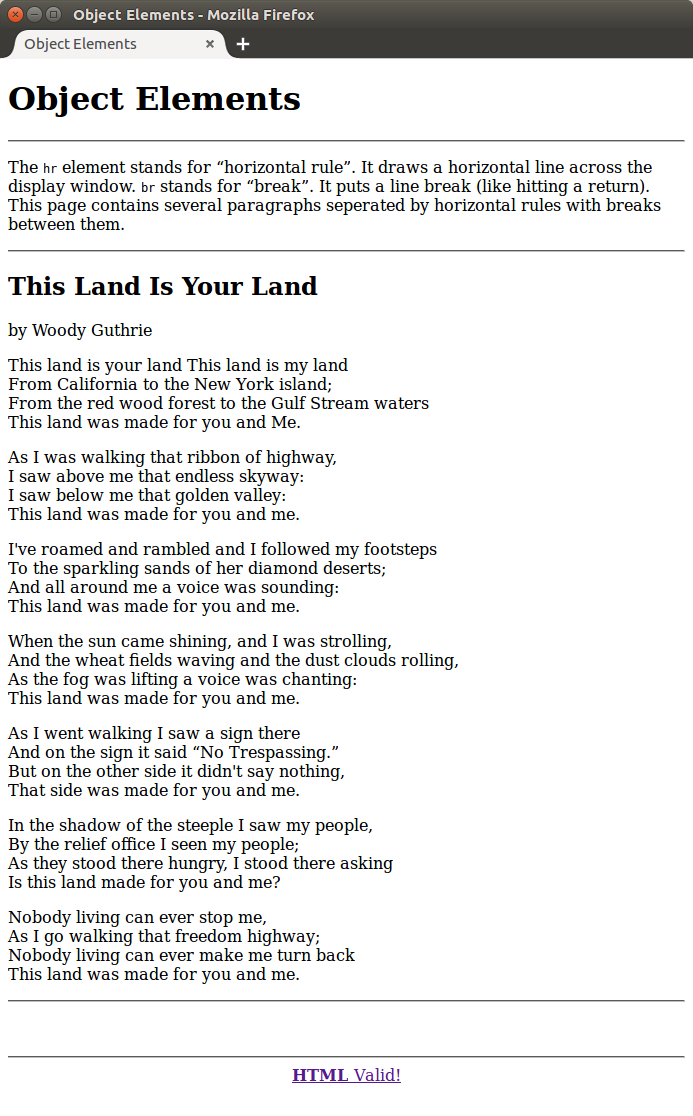
Object Elements
These three elements are special, because they insert objects rather than
enclosing text. Since there is nothing to contain
, they do not have a
closing tag:
- <br>
- Line break. This tag forces a line return.
- <img>
- Image tag. Used to display an image. (see Lesson 7).
- <hr>
- Horizontal rule. Places a horizontal line across the page.
Special Characters
Since <, >, and & have
special meanings in HTML, you can't use them to represent themselves in an
HTML document. When you do want to use them literally (as in HTML source
examples), you need to mark them up with special codes:
| MARK-UP | RENDER |
|---|---|
| < | < |
| > | > |
| & | & |
| | non-breaking space |
The markup for an example like this:
<h2>Using Special Characters to Mark-up HTML Source</h2>
<p>
Marking-up HTML source requires special characters to replace
occurances of <, >, and &.
</p>
looks like this:
<h2>Using Special Characters to Mark-up HTML Source</h2>
<p>
Marking-up HTML source requires special characters to replace
occurances of <, >, and &.
</p>
It's not pretty, but it works.
